Deep Learning Development with Google Colab

What Is Google Colab?

Collaboratory, or “Colab” for short, is a product from Google Research. Colab allows anybody to write and execute arbitrary python code through the browser and is especially well-suited to machine learning, data analysis, and education.
How to run a code in Google Colab?
Just only 2 steps
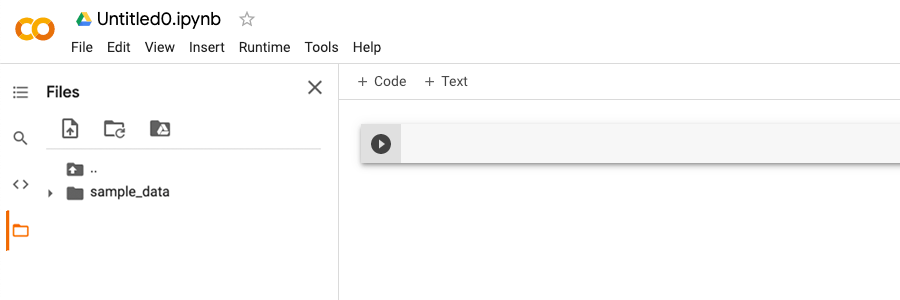
1. Sign in Google Colab (colab.research.google.com)
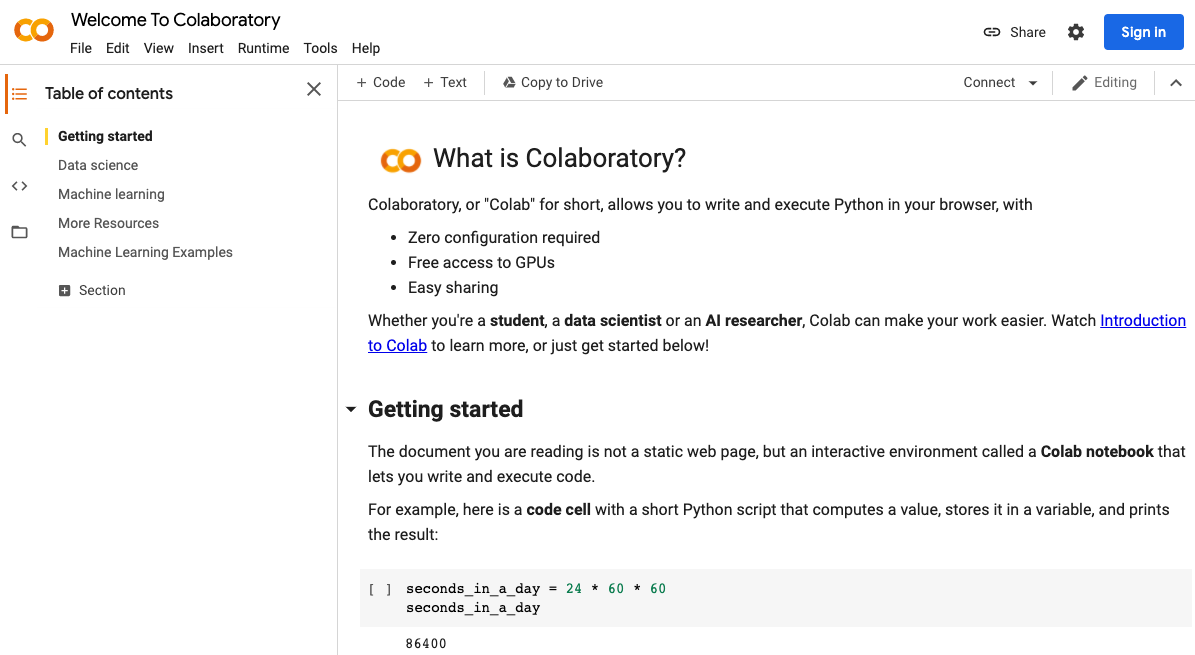
Google colab home page
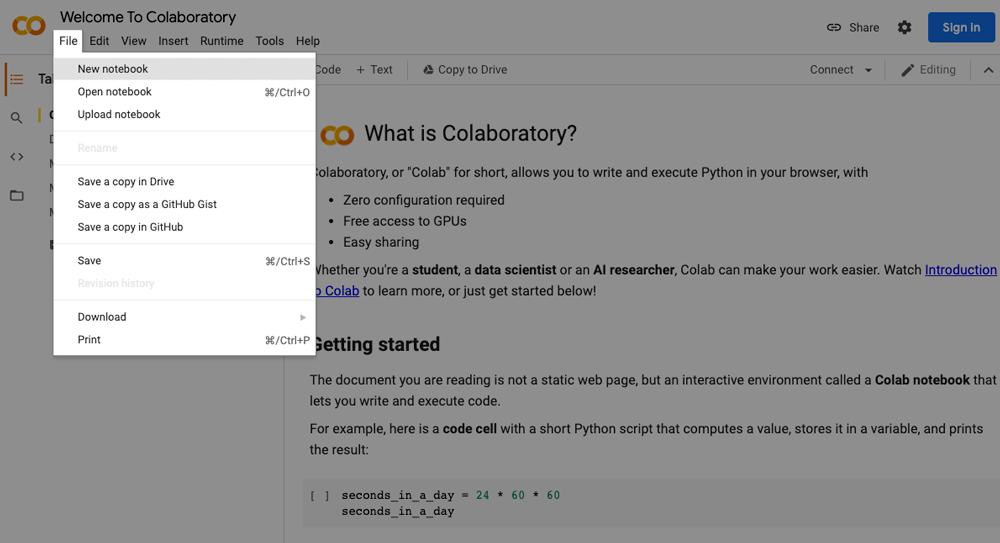
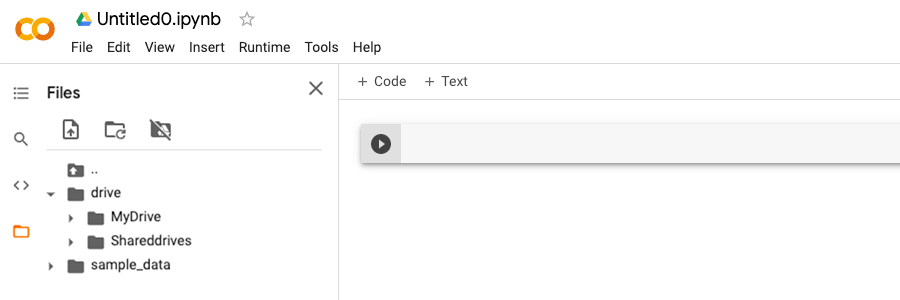
2. Create a new notebook
a. Select a new notebook option from the pop-up window shown in the above picture. However, you can create a new notebook by going to the file menu and select “New notebook”.
Create a new notebook
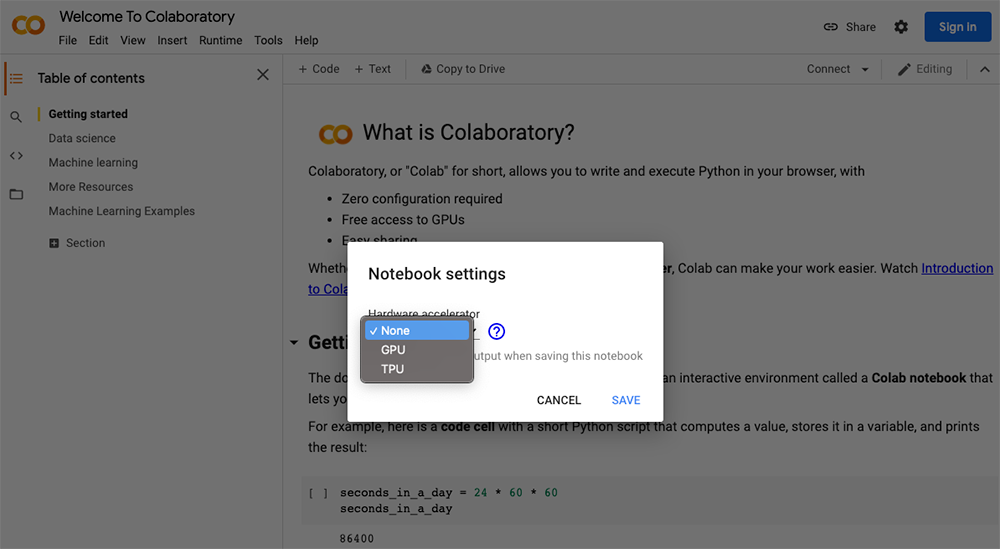
b. Using a GPU or TPU in Colab: By default, the GPU and TPU are disabled for the notebooks. Nevertheless, They can easily be turned on.
The steps to turn on the GPU are:
i. Click Runtime located on the menu bar.
ii. Select the Change Runtime type.
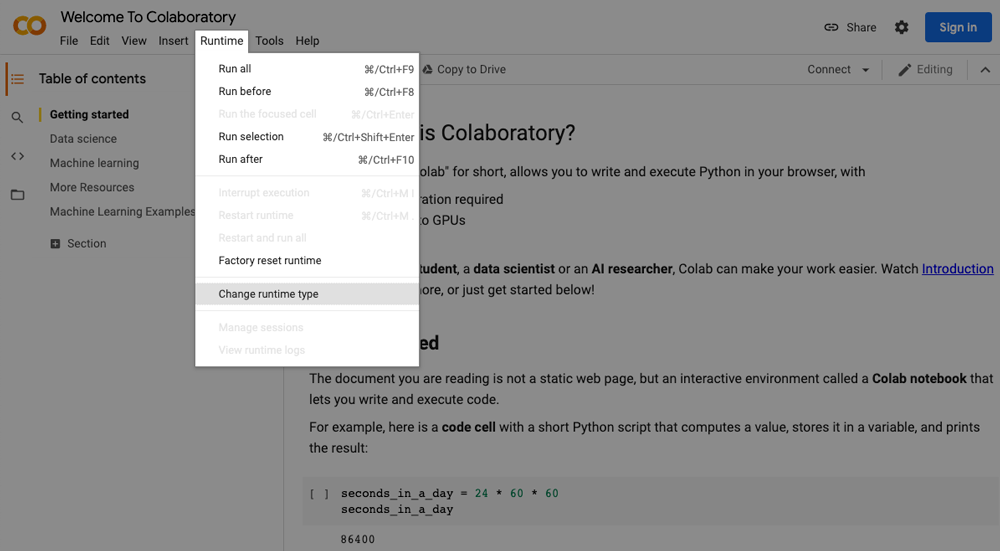
iii. Select GPU/TPU from the hardware accelerator.
c. Using a GPU or TPU in Colab: By default, the GPU and TPU are disabled for the notebooks. Nevertheless, They can easily be turned on.
Implement deep learning using Google colab
1. Get Google Colab Ready to Use
Since Colab is working on your Google Drive, we first need to specify the folder we’ll work. I created a folder named “app” on my Google Drive. Of course, you can use a different name or choose the default Colab Notebooks folder instead of the app folder.

2. Create a new notebook via Right-click > More > Collaboratory

3. Set up GPU as 2 steps from above
4. Mount Colab with your google drive
a. On the left panel, click on a folder icon
b. Then, click on the folder icon with google drive sign
c. After mounted, drive directory will appear.
5. Set up module for training image classification model
import itertools
import os
import matplotlib.pylab as plt
import numpy as np
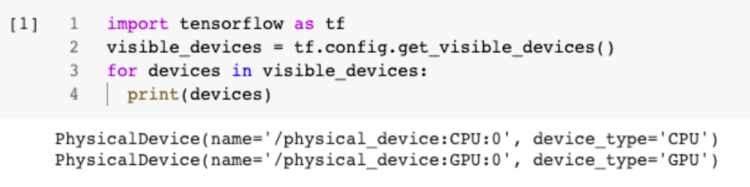
import tensorflow as tf
import tensorflow_hub as hub
print("TF version:", tf.__version__)
print("Hub version:", hub.__version__)
print("GPU is", "available" if tf.test.is_gpu_available() else "NOT AVAILABLE")
6. Set up module for training image classification model
module_selection = ("mobilenet_v2_100_224", 224)
handle_base, pixels = module_selection
MODULE_HANDLE ="https://tfhub.dev/google/imagenet/{}/feature_vector/4".format(handle_base)
IMAGE_SIZE = (pixels, pixels)
print("Using {} with input size {}".format(MODULE_HANDLE, IMAGE_SIZE))
BATCH_SIZE = 32
7. Set up the Flowers dataset
data_dir = tf.keras.utils.get_file(    'flower_photos',    'https://storage.googleapis.com/download.tensorflow.org/example_images/flower_photos.tgz',    untar=True)
datagen_kwargs = dict(rescale=1./255, validation_split=.20)
dataflow_kwargs = dict(target_size=IMAGE_SIZE, batch_size=BATCH_SIZE,                   interpolation="bilinear")
valid_datagen = tf.keras.preprocessing.image.ImageDataGenerator(    **datagen_kwargs)
valid_generator = valid_datagen.flow_from_directory(    data_dir, subset="validation", shuffle=False, **dataflow_kwargs)
do_data_augmentation = False
if do_data_augmentation:  train_datagen = tf.keras.preprocessing.image.ImageDataGenerator(      rotation_range=40,      horizontal_flip=True,      width_shift_range=0.2, height_shift_range=0.2,      shear_range=0.2, zoom_range=0.2,      **datagen_kwargs)
else:  train_datagen = valid_datagen
train_generator = train_datagen.flow_from_directory(    data_dir, subset="training", shuffle=True, **dataflow_kwargs)
8. Define the model
do_fine_tuning = False
print("Building model with", MODULE_HANDLE)
model = tf.keras.Sequential([   # Explicitly define the input shape so the model can be properly   # loaded by the TFLiteConverter   tf.keras.layers.InputLayer(input_shape=IMAGE_SIZE + (3,)),   hub.KerasLayer(MODULE_HANDLE, trainable=do_fine_tuning),   tf.keras.layers.Dropout(rate=0.2),   tf.keras.layers.Dense(train_generator.num_classes,                         kernel_regularizer=tf.keras.regularizers.l2(0.0001))])
model.build((None,)+IMAGE_SIZE+(3,))
model.summary()
9. Train the model
model.compile(  optimizer=tf.keras.optimizers.SGD(lr=0.005, momentum=0.9),  loss=tf.keras.losses.CategoricalCrossentropy(from_logits=True, label_smoothing=0.1),  metrics=['accuracy'])
steps_per_epoch = train_generator.samples // train_generator.batch_size
validation_steps = valid_generator.samples // valid_generator.batch_size
hist = model.fit(    train_generator,    epochs=5, steps_per_epoch=steps_per_epoch,    validation_data=valid_generator,    validation_steps=validation_steps).history
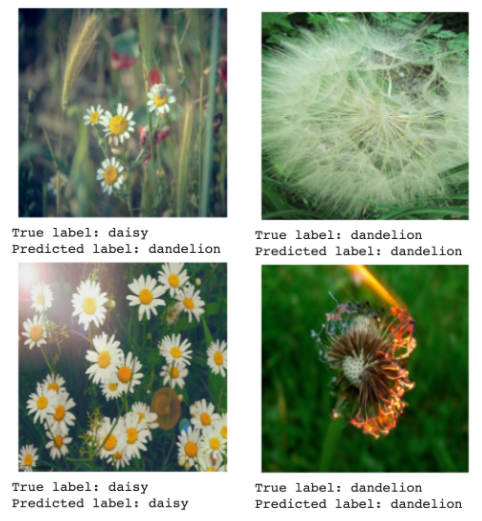
10. Try out the model on an image from the validation data:
def get_class_string_from_index(index):   for class_string, class_index in valid_generator.class_indices.items():      if class_index == index:         return class_string
x, y = next(valid_generator)
image = x[0, :, :, :]
true_index = np.argmax(y[0])
plt.imshow(image)
plt.axis('off')
plt.show()# Expand the validation image to (1, 224, 224, 3) before predicting the label
prediction_scores = model.predict(np.expand_dims(image, axis=0))
predicted_index = np.argmax(prediction_scores)
print("True label: " + get_class_string_from_index(true_index))
print("Predicted label: " + get_class_string_from_index(predicted_index))


Subscribe to follow product news, latest in technology, solutions, and updates
Other articles for you


Let’s build digital products that are simply awesome !
We will get back to you within 24 hours!Go to contact us